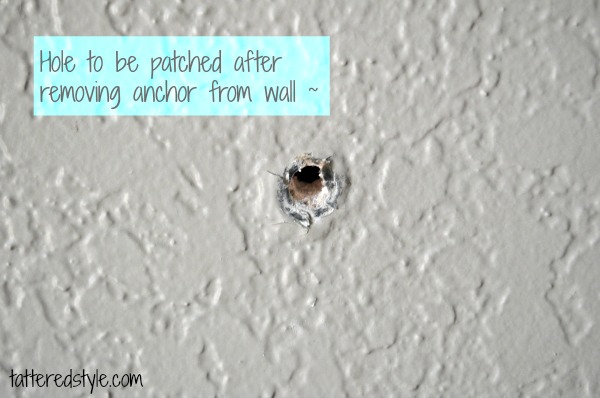
Here's a quick tutorial on how to patch a hole in a wall. I can almost guarantee everyone of us will eventually deal with having to make a repair like this sooner or later. Just remember, once you commit to using an anchor, nails, screws, etc. ~ the hole/holes they make can
always be repaired.
Here's what you will need:
- Hammer
- Tissue Paper
- Vinyl Spackling
- Primer
- Paintbrush
- Paint
- Clean Cloth
- 5 in 1 Tool
First,
pound it! ~ Which means, take a hammer and pound the area around the
hole that was made with the anchor ~ so as to smooth
out the perimeter of the hole where the anchor was removed.
Next, crumble up a bit of tissue paper and place in the hole. This will give the spackling something to grab onto.
Then, put some spackling over the tissue paper and smooth it out with a putty knife or a five-in-one tool (my # 1 go to tool ~ find one
here).
Wipe off excess spackling around the perimeter of the hole you are patching
with a wet paper towel or cloth. I generally use a piece of an old
t-shirt.
Allow the spackling adequate time to dry (or cheat like I do and
dry it with a blow dryer).
Then apply a second application of the spackling to build up the area
~ repeating the above steps. When dry (bring out the blow dryer again)
you are ready to prime the area (important step).
Apply a coat of primer and allow to dry (or blow dry).
Then apply your first and second coats of paint. That's it! People are typically afraid to make holes in walls (especially if you are renting) for fear of not being able to repair them. Honestly, no fear here! I hope this helps! Please let me know if you have any questions or if this has been helpful to you. XO ~ Dana